BiS Wishlist Forms
Player-side guide for syncing the form, adding a character, selecting items and transferring a BiS wishlist.
BiS Wishlist Forms
This guide explains the player-side workflow for submitting a BiS wishlist to a raid or guild leader through the MerfinUI Sheet system.
Before You Start
As the sheet owner, make sure players can access and copy the sheet. Open Share, check that general access is set to anyone with the link, and verify that the share settings allow viewers to copy the file.
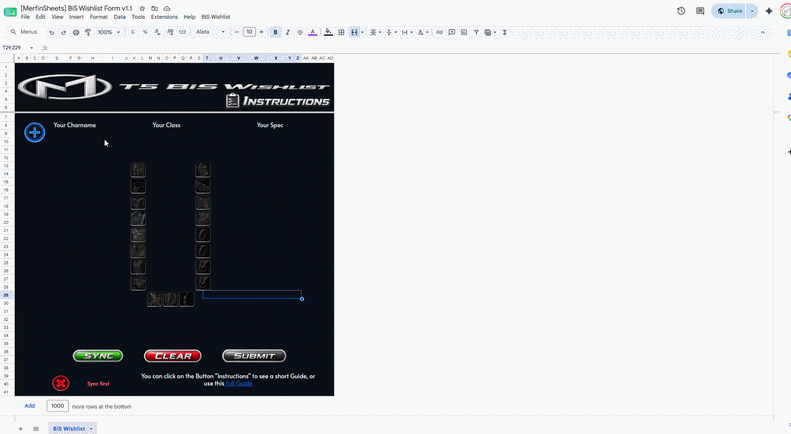
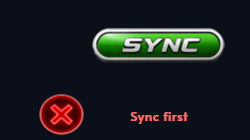
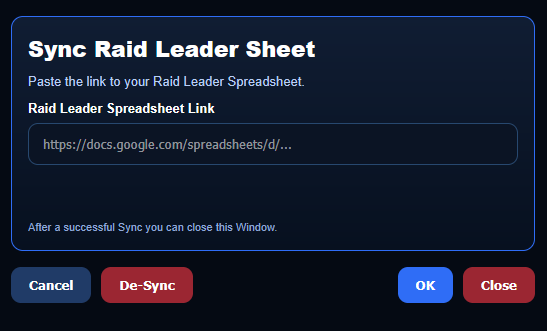
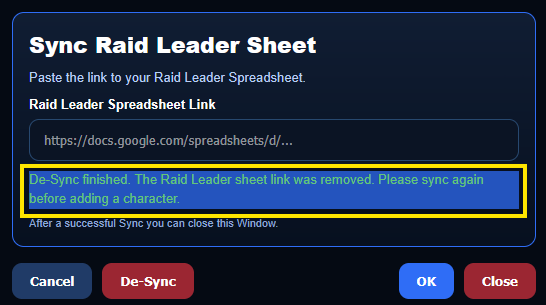
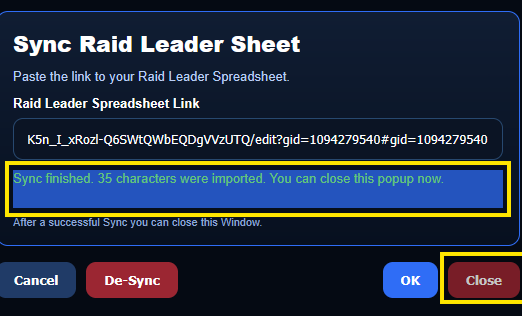
1. Sync Your Sheet
Click the Sync button once and wait for the window to open. The sync indicator will show whether the sheet is connected correctly. Syncing is always the first required step before the form can be used.
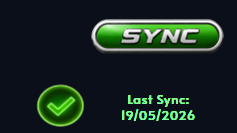
Enter the raid leader Google Sheet link into the field and press OK. After a successful sync, close the dialog and continue once the indicator shows a green checkmark.
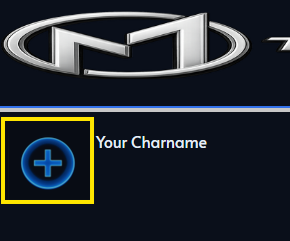
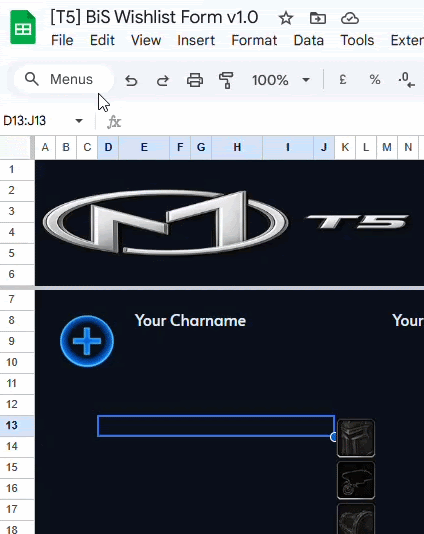
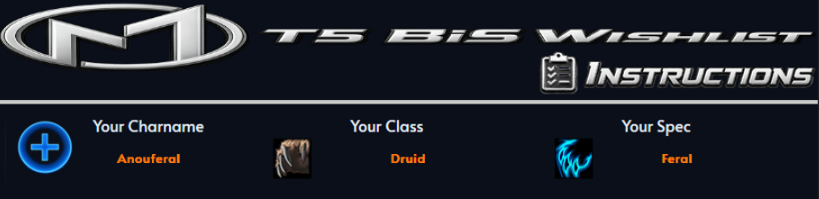
2. Add Your Character
Press the plus button and wait for the character picker to open. If your character is already rostered in the raid leader sheet, it will appear in the list.
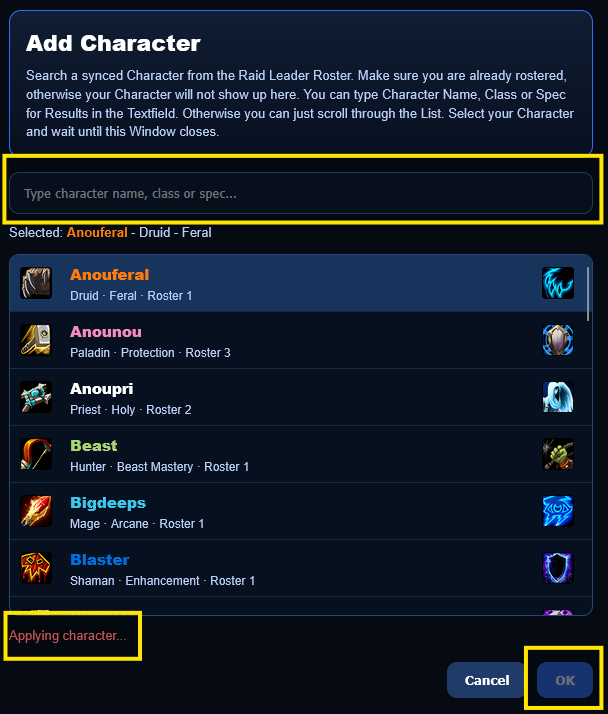
You can search by the first letters of the character name, class, or specialization. Select the correct character and press OK. The sheet will apply it and show the character in the bottom line when finished.
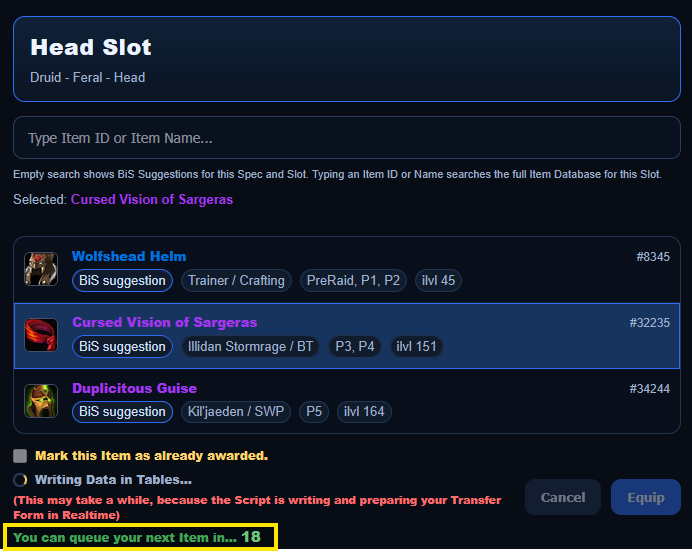
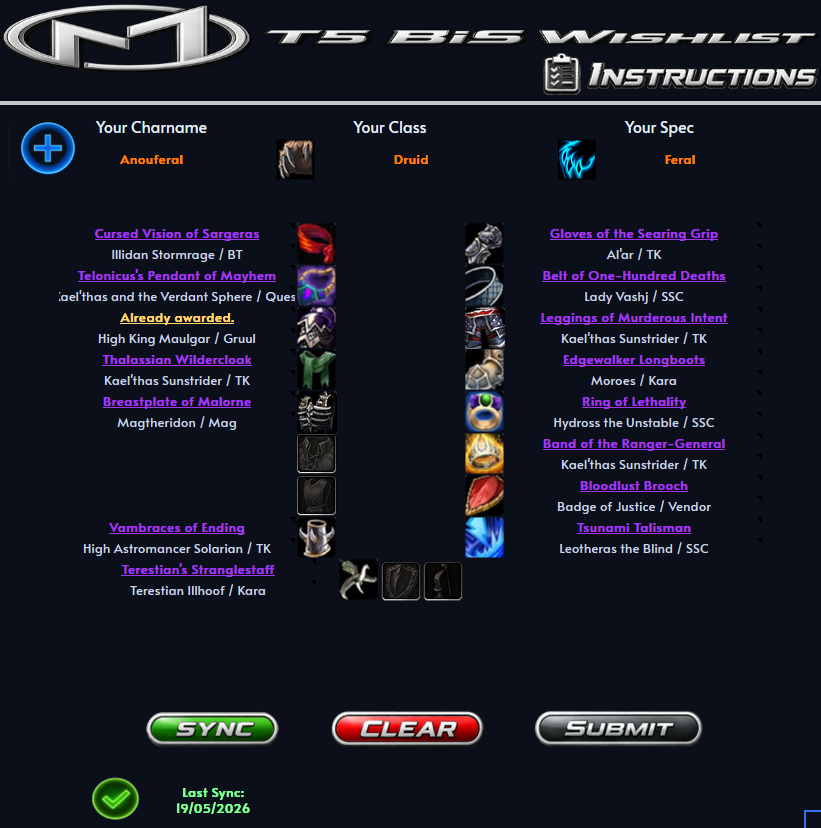
3. Add Items
After your character is applied, choose the equipment slot you want to fill. The item window will open and suggest recommended BiS items for your class and spec.
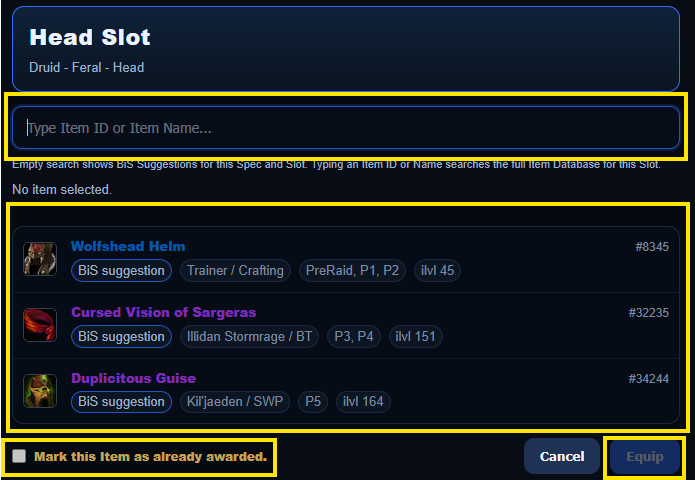
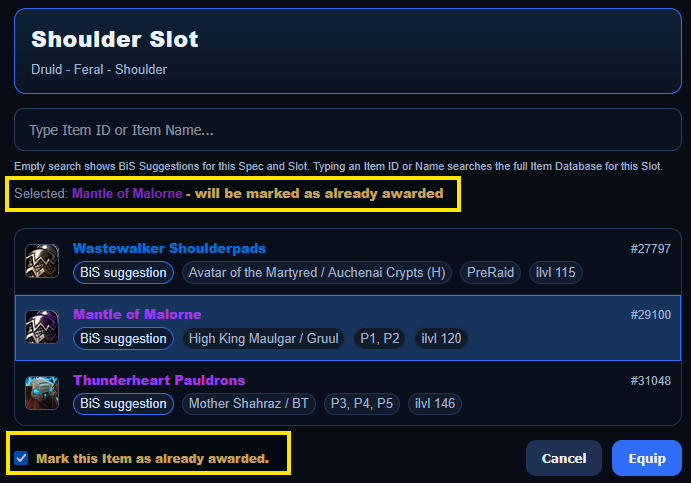
You can use a recommended item, or search by item ID or item name. You can also mark an item as already awarded, which tells the raid leader that you do not need that item anymore.
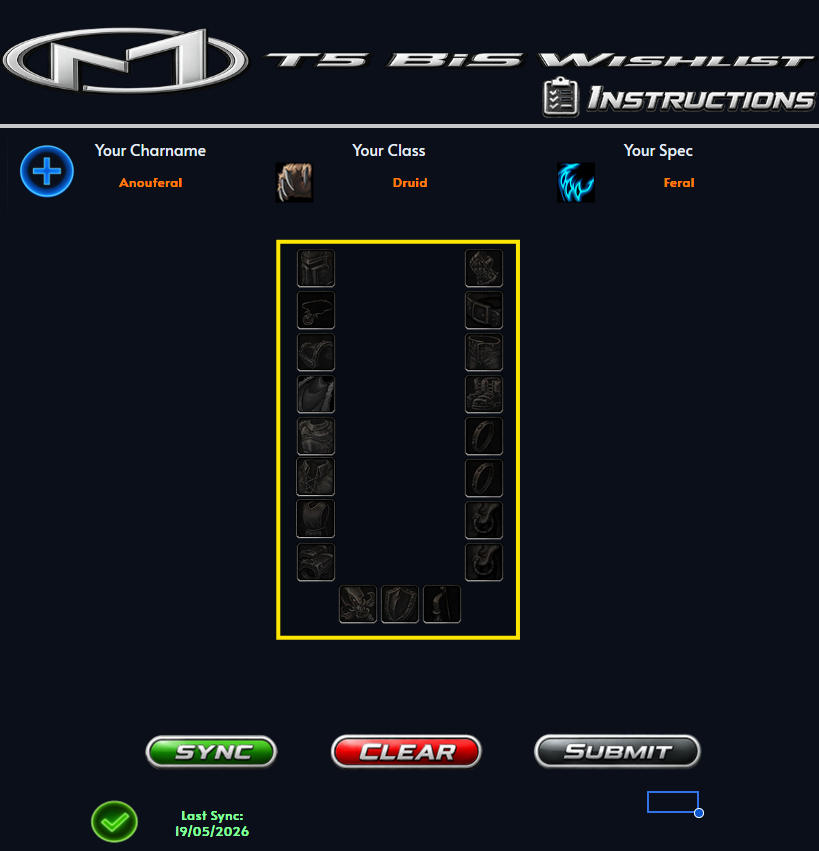
After clicking Equip, a short protection timer prevents too many script actions from running at once. Wait until the window closes before adding the next item.
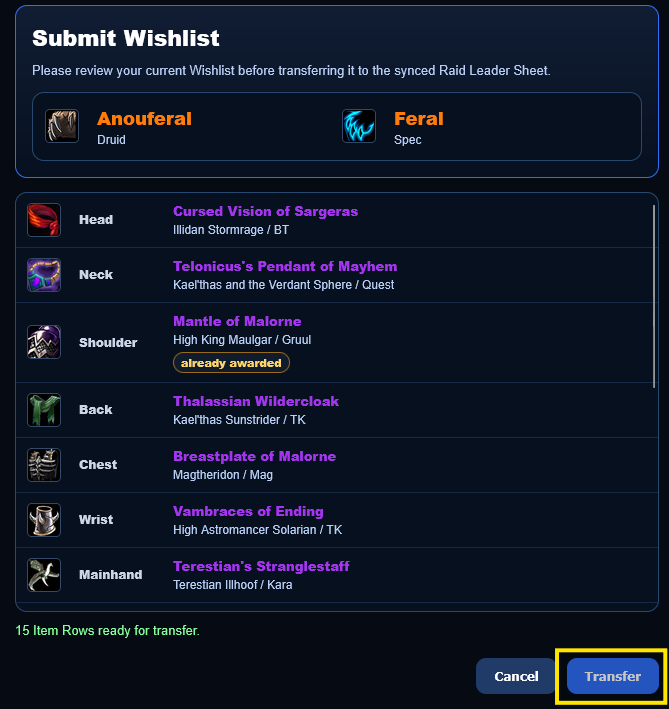
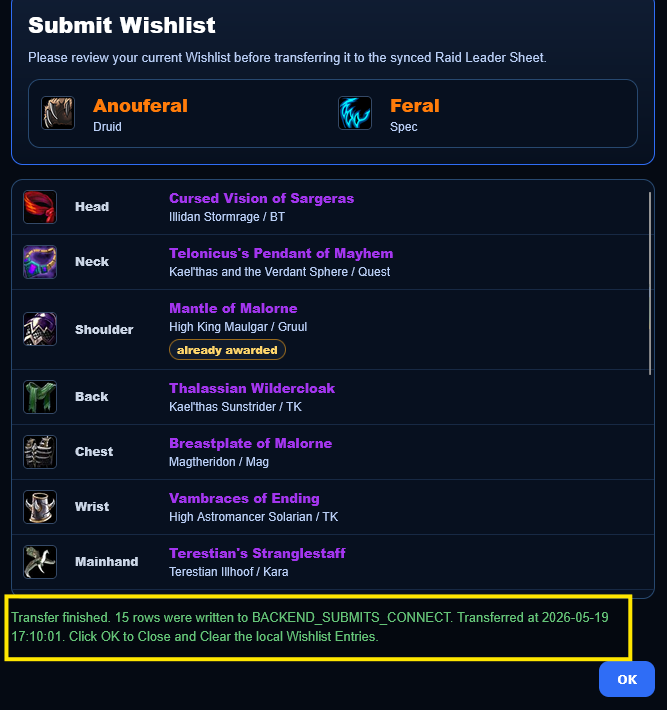
4. Transfer Your Form
When the list is ready, press Submit at the bottom of the sheet. Review the transfer preview carefully, then press Transfer. A green message confirms that the list was submitted successfully.
You can repeat the process for each rostered character. If you change a submitted list later, the raid leader receives the update and can review, accept, or decline it.